These are reinforcement labels for three ring binders.
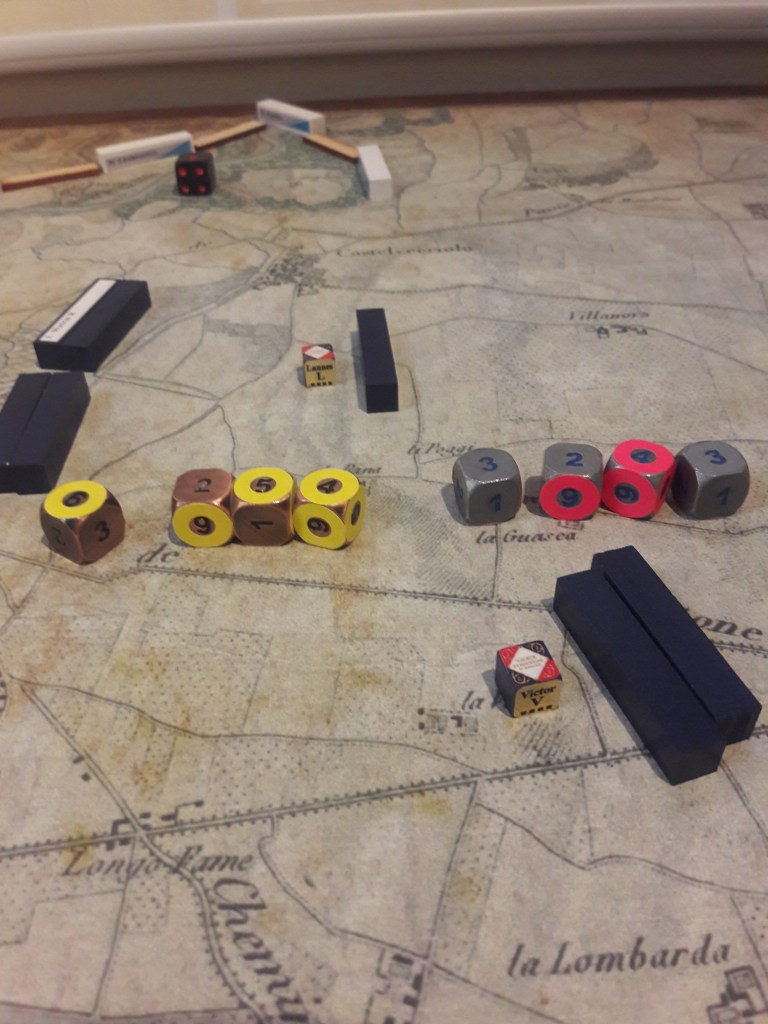
As I mature, I find small print difficult, not impossible, just annoying. Picking out details takes more effort. I want the challenge to come from the game itself, not the components. To that end, I’m trying something a little different. Hit or Miss dice. I can easily and quickly count how many hits I got.
The only adjustment I have to make is with die roll modifications. Instead of adding or subtracting from the die roll, I just add or subtract the actual number of dice rolled.
An explanation of the way I resolve complex combats. It’s kind of a simpler short hand way of combat resolution. Of course, I fully support and will answer any questions about the “right” way to do this.
This time, I had the whole Marengo map in the viewer, but the actual final size of the image is less, so there is a minor glitch. That beautiful map is so huge!
This time the Wellington had his command fall back, trusting that Blucher would come in force and soon, and that they would have a wider frontage to assault.
I was going to do a little more narration, but I found with this smaller battle that more narration was necessary since there was less “spectacle” in the battle itself.
Less than a minute if you don’t count my ending summation!
This shows just how tense and fraught this game can be. The winner was determined by the chit draw on the final turn. You can’t really blame the chit draw. The game was “lost” earlier, when it was allowed to come down to the chit draw.
The breaking point of the army being determined by the capture of the enemy’s Baggage is an absolutely brilliant way to determine victory. Kudos to the designers (I was not in on this, so I’m certainly not blowing my own horn). Adopting this single rule was one of those “Aha!” moments that suddenly made the game WORK. Rather than a dull wearing away of the army trying to get to that magic 50% casualty number (still an option), the game now has a sudden death mechanism that makes every turn and combat result significant.
The game has three very general phases. The combatants first (through maneuver and combat) try to force their opponent to unpack their bags. Once that is done and the parameters of the battle are established (where the focal points are located and who has the initiative). Finally, the game is decided when the enemy bags are captured, losses run to 50%, the scenario time runs out or, best of all, when your opponent waves the white flag and acknowledges your overwhelming mastery on the field of battle!
This is my third installment of an Antietam replay. I am still not happy with my skill level with video editing, but I am working on it. I received a request to not divulge the outcome in the description, and that was a great point! My goal at this point is to edit out all the activation phase, since that just isn’t interesting to watch (IMHO). I’m going to focus on the combat phase and speaking slower. I meant, but completely forgot, to do an “end of” casualty report. Next time. In this and the last game, I did not realize that victory had been achieved until right after the fact, so it isn’t handled too well. I will try to improve on that!
I know my faults, but don’t be shy about any suggestions for improvements or things you’d like to see in these videos.