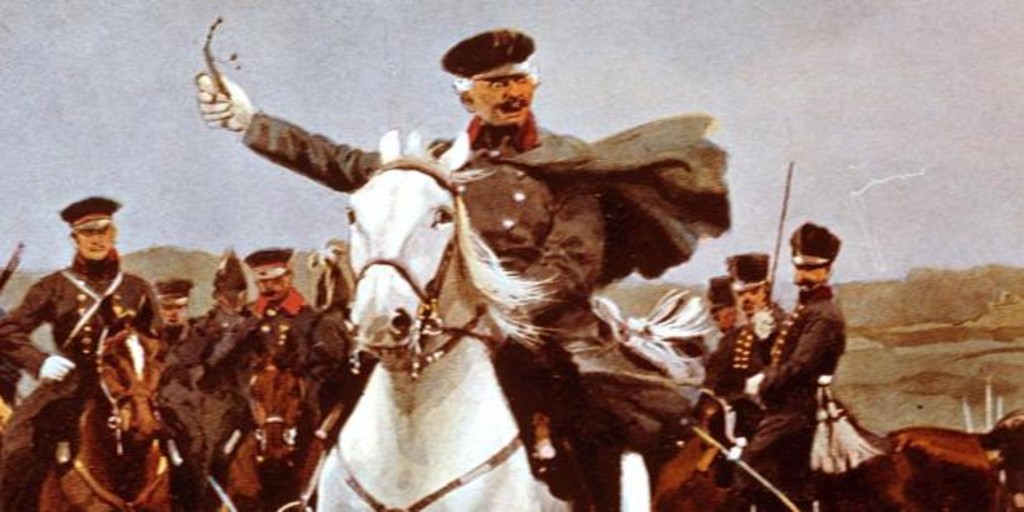
It has been an oft requested feature to simulate leader casualties. Ultimately, in the big picture of things, leader casualties rarely had an effect on the immediate battle. Sometimes a high level leader could effect the army, such as the loss of Stonewall Jackson, but that was the exception, not the rule.
In Pub Battles we have come up with an optional way to simulate this, that I think is pretty fun. I don’t know if I’d call it “realistic,” but if the point is to have fun, no harm is done.
To involve a leader(HQ) directly in combat, simply place it on top of a block that is adjacent to the enemy. That block now adds one to its combat rolls, but if the enemy rolls a six in combat, then there is a chance the HQ gets eliminated. For each hit suffered in a round, roll a die, if a 1 is rolled, the HQ is removed.
Note that removing the HQ still allows the chit to be drawn, and the Corps to move, but they now can only attack if the Army commander is within command range. Obviously, they cannot roll to alter turn order either.
This usually has a subtle effect on the army, just like a leader loss should. One Corps leader lost can be reasonably accommodated for, but if you lose two or more, it can be a problem. It also gives the occasional extra leader (like Blucher at Waterloo) a purpose beyond providing additional combat command. It makes me want to add a Ney block at Waterloo!
While there are plenty of good reasons to add this rule to the game, I’m not sure it is something I will use much. My guiding principle is “Does the game work without it?” If the answer is yes, then it is followed up with “Is it significantly improved by this addition? Baggage Trains passed both the hurdles with flying colors. I’m not yet convinced that this, or any, Leader Casualty rule, does.
In my last game of Waterloo, it did play a significant role. The British Bags were exposed and the Guard was fixed to assault. Picton drove off the first attempt, and fell in the effort, and Uxbridge with the Household Cavalry held off versus two blocks of Guards Cavalry charging, and two blocks of II Corps infantry in the combat phase. Very exciting, very dramatic final turn.
Here is the video: