I like the way the easy to see rivers look and play, but I totally understand if you treat your expensive maps with more care.
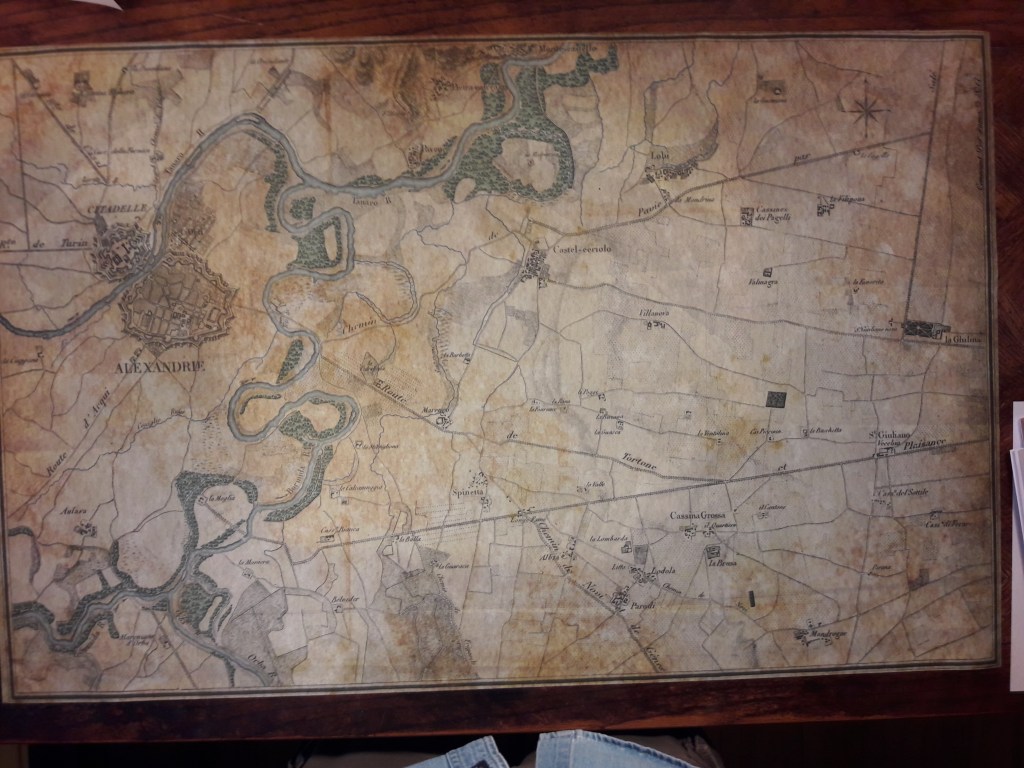
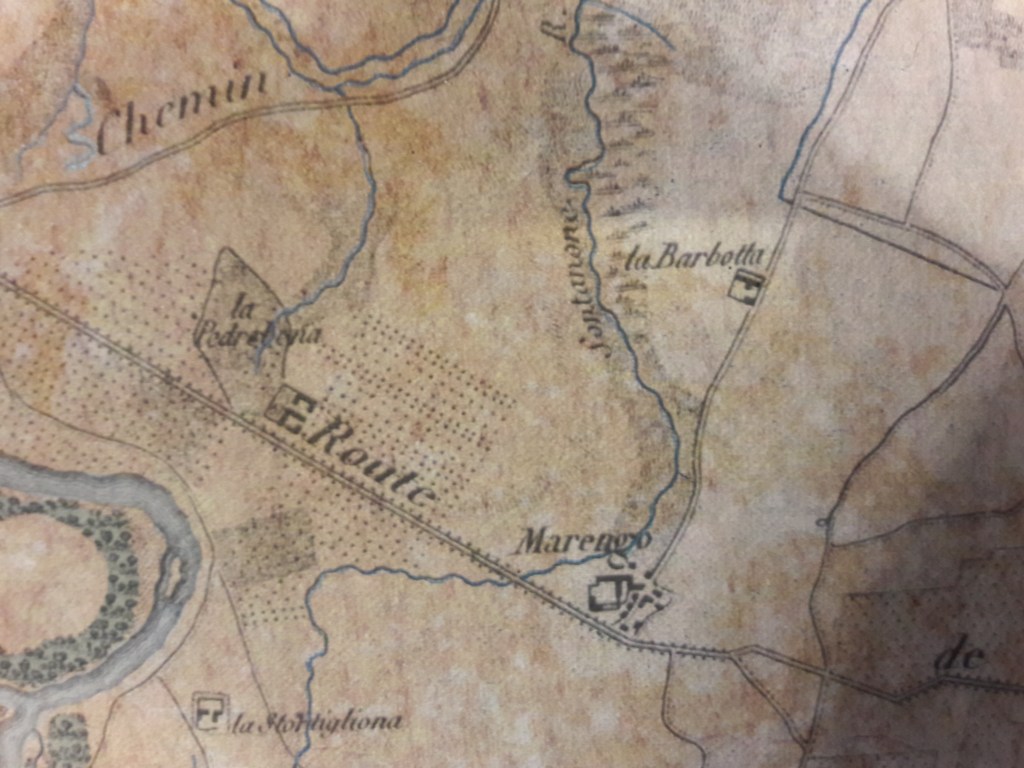
If you’re not real close to the map you can’t really even notice the colored rivers. If you decide to do this, you have to take time to make sure it is a river and not a road. It is not always obvious. On maps with more hills I will frequently draw a contour line along the top side of the slope lines with a regular pencil. This helps when the map is covered with blocks and it becomes hard to determine where the upslope is. On the Marengo map the slopes are few and so is the piece count, so I don’t touch the map.
The Austrians must breakout to the North or East and It will take them almost the full game to get there, even without the French in their way. If they get too held up (likely) they will have to use column to gain some distance, but that means the French can really put them in the hurt locker. The game can last into a second day, so the French must ultimately stop them. Instead of waiting for Godot, they are waiting for Desaix (who shows up turn 5)! Desaix’s arrival can be decisive IF the Austrians are too exhausted.
This battle is a pressure cooker every time!
I have gotten notice that my 3.0 kits (Available here) have shipped, No doubt to arrive tomorrow! You can imagine what 3 extra blocks could do for French Fog of War. As well, the Austrian detachments could look like Ott’s light troops had taken the Northern road. When playing solitaire, they make effective speed bumps, forcing the Austrians out of column as they race to reach their LoCs.
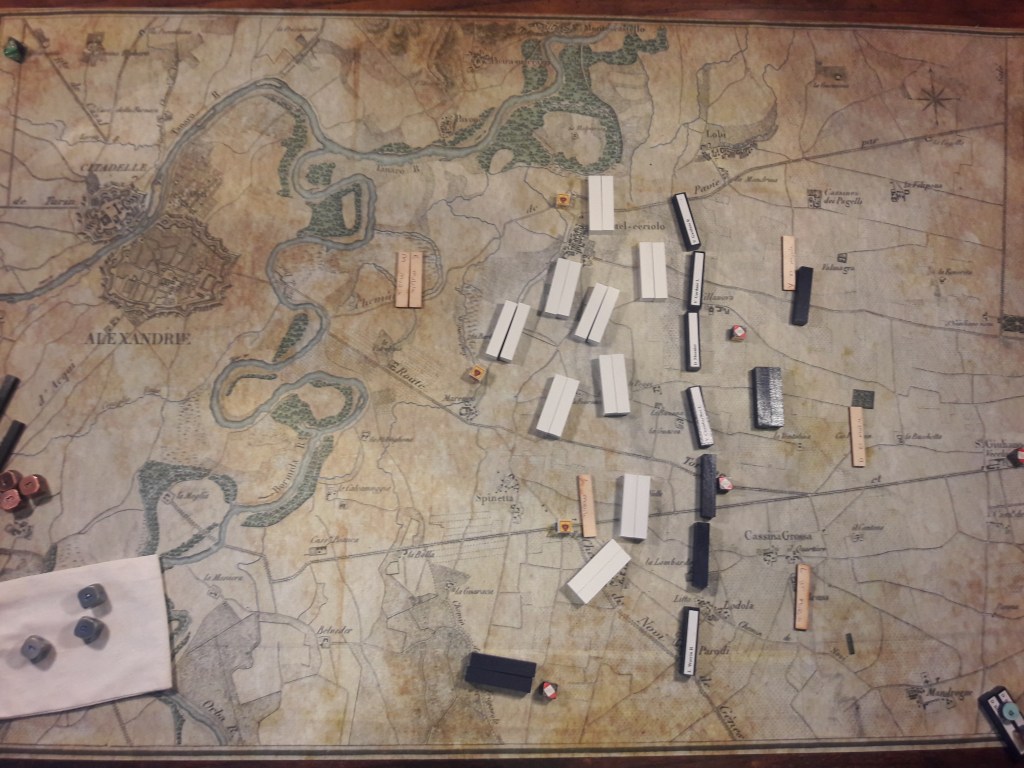
The 3.0 rules clarify that the Northern road crosses the river at Monte-Castello, and that optional Northern route is pretty good for one of Melas’ other commands, as it draws off units the French can ill afford to spare. It is not a sure-win strategy, or the game would be broken, but it is an option. I chose to go with a more historical start, “Hey diddle diddle, straight up the middle!” After all, the Austrians have the strength of numbers, why not concentrate?

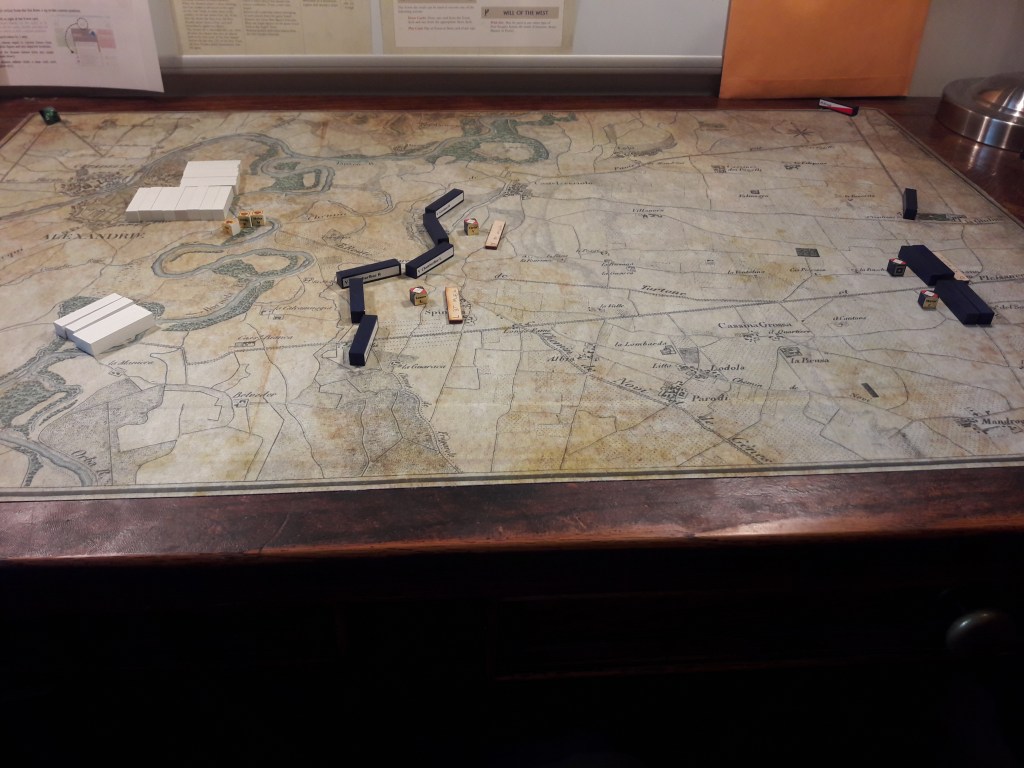
The Austrians start on turn 0 with a free, unopposed move. I used this to get my artillery within range of the French lines so I can start reducing units to spent on turn one. If I can wear the French down, he will have to deploy his baggage trains early and that would be great for the Austrians.
The French try to buy time because on turn 3 Murat gets another cavalry division and Turn 5 Desaix appears. I do not have the 3.0 upgrade kit yet, so I have made some temporary Baggage Trains with my column markers. On one side they say “Mobile” and on the other “Set” to show them unpacked.
The Austrian dragoons are moving up with the Grenadiers to create some combined arms breakthroughs in the French line. If the French cavalry can force the Austrian cavalry to protect the Baggage Trains, they might ruin the Austrian plans.
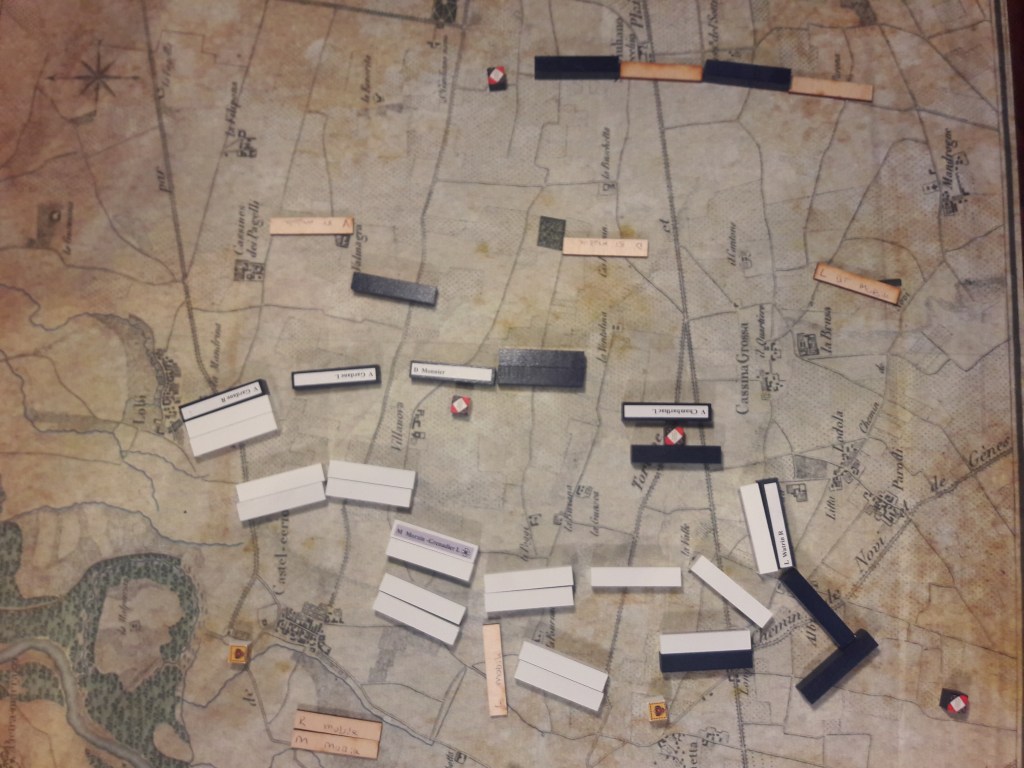
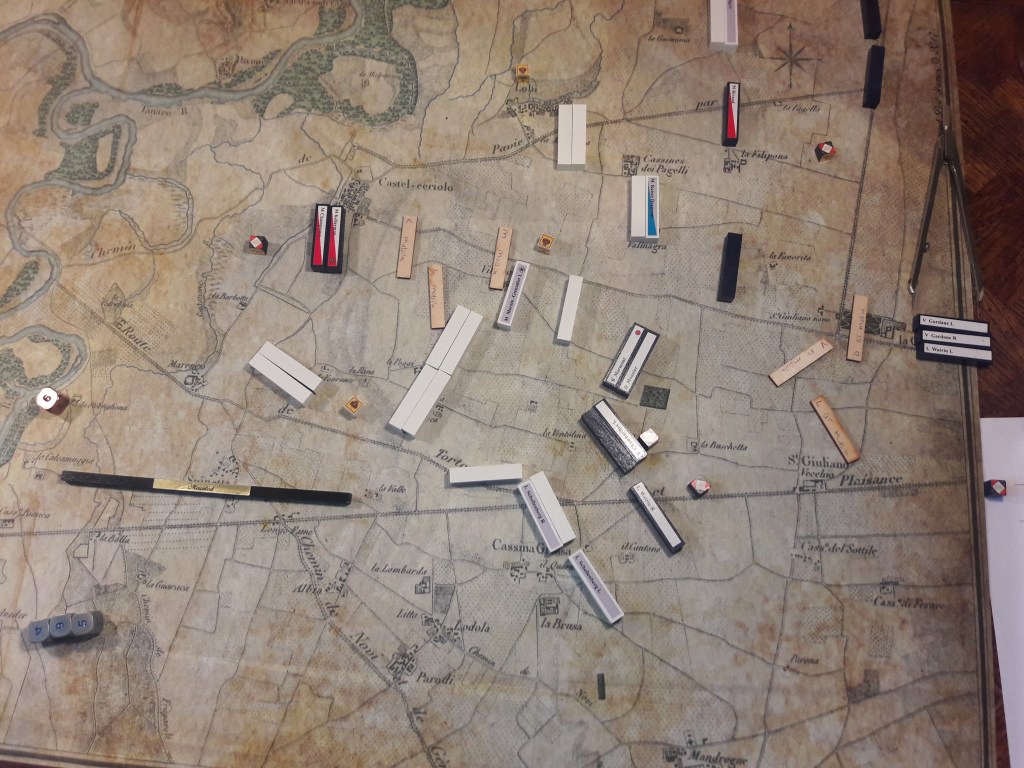

In the night, both sides unpack one Baggage Train and try to recover some spent units. The Austrian Baggage is safe, but only because the Austrians are protecting it well. Protecting it with troops that are desperately needed elsewhere!
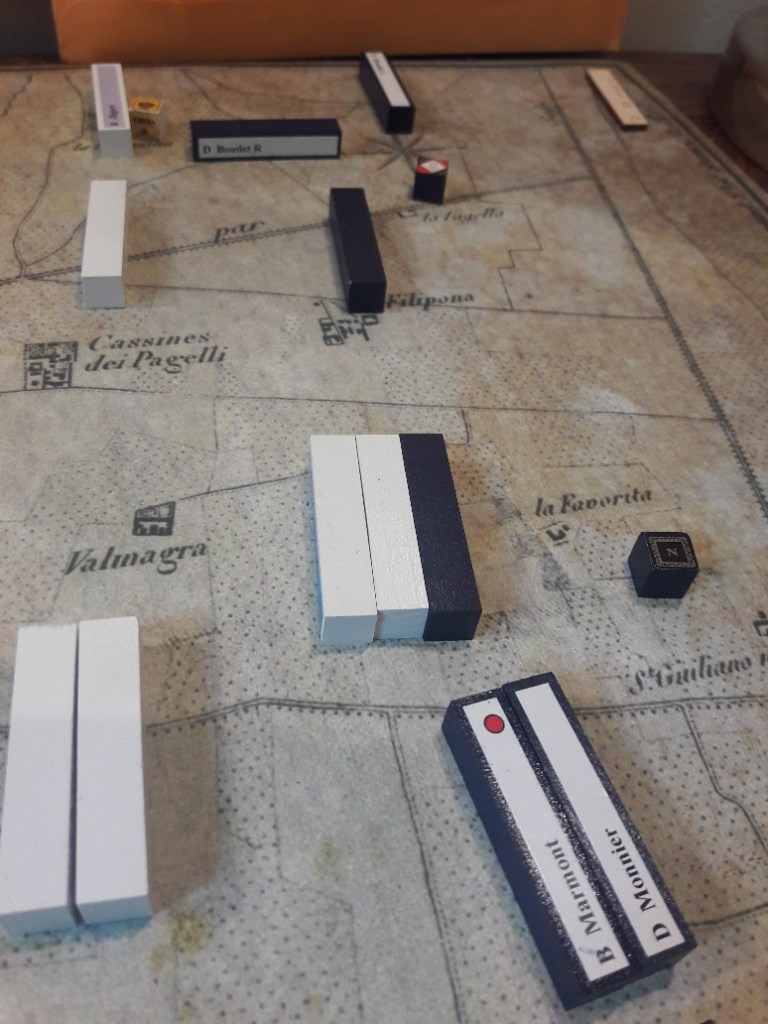
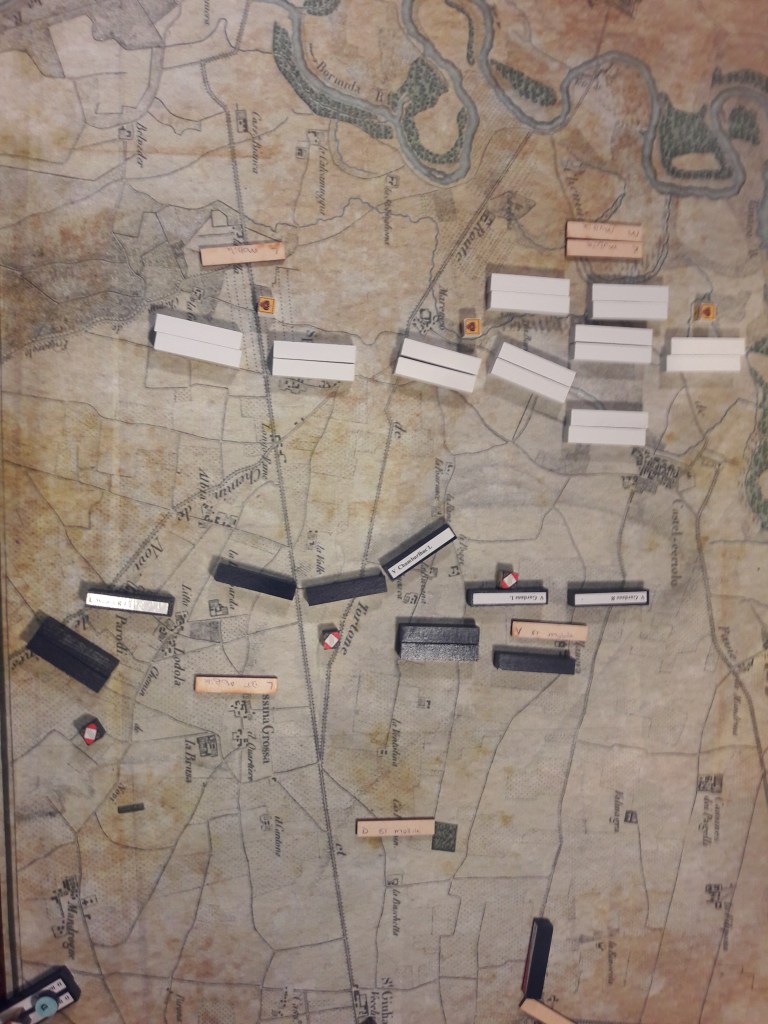
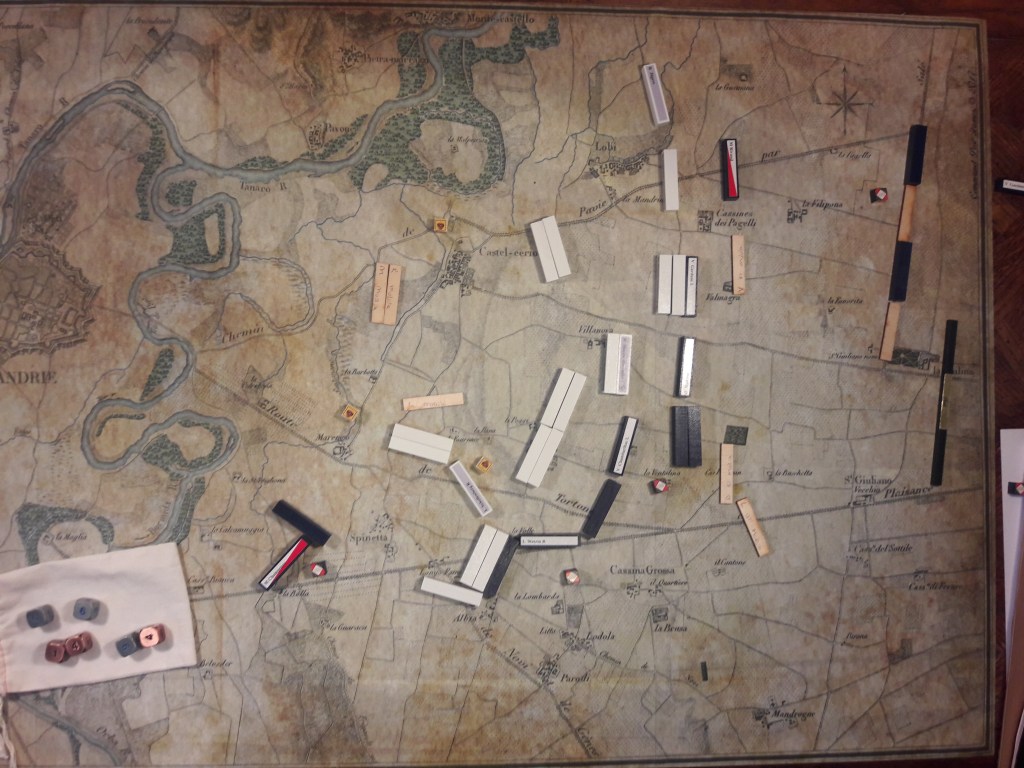
Turn 1 sees more rallying and repositioning of exhausted troops, but turn 2 finds Desaix doing Desaix things and driving back the Austrian flying wing under O’Reille that was Pushing for the Northern LoC. In an attempt to force a decisive issue, Melas commits his Grenadiers and the Kaiser’s Dragoons against the French Guard and the Corsican usurper of all that’s good in Austria.

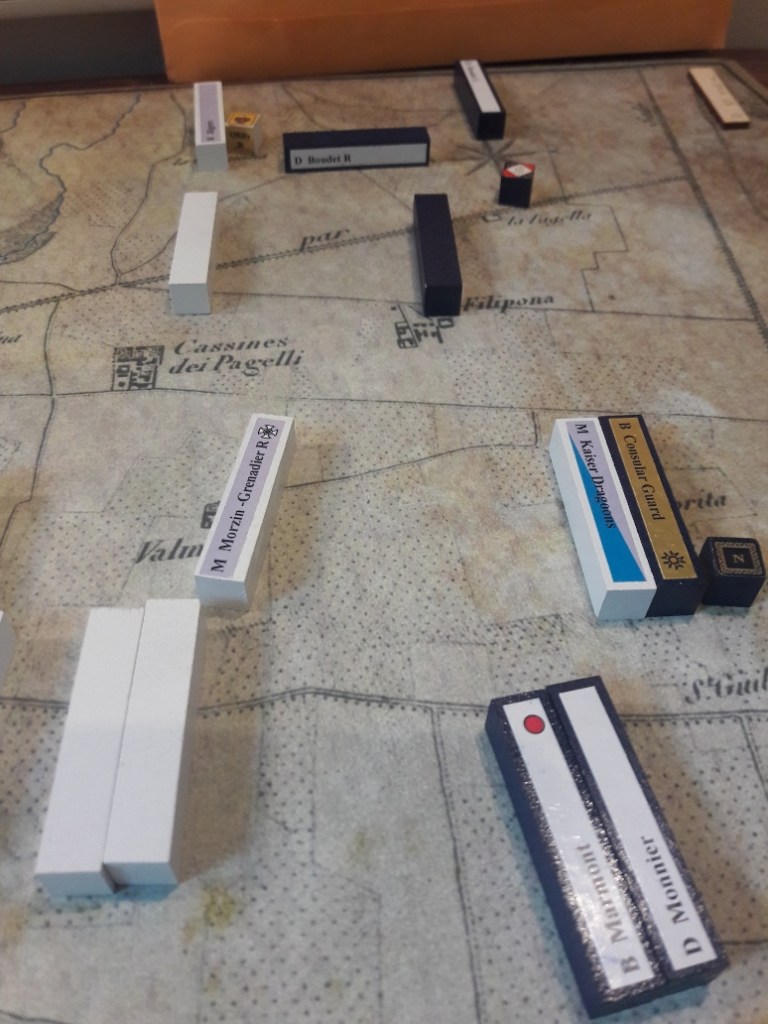
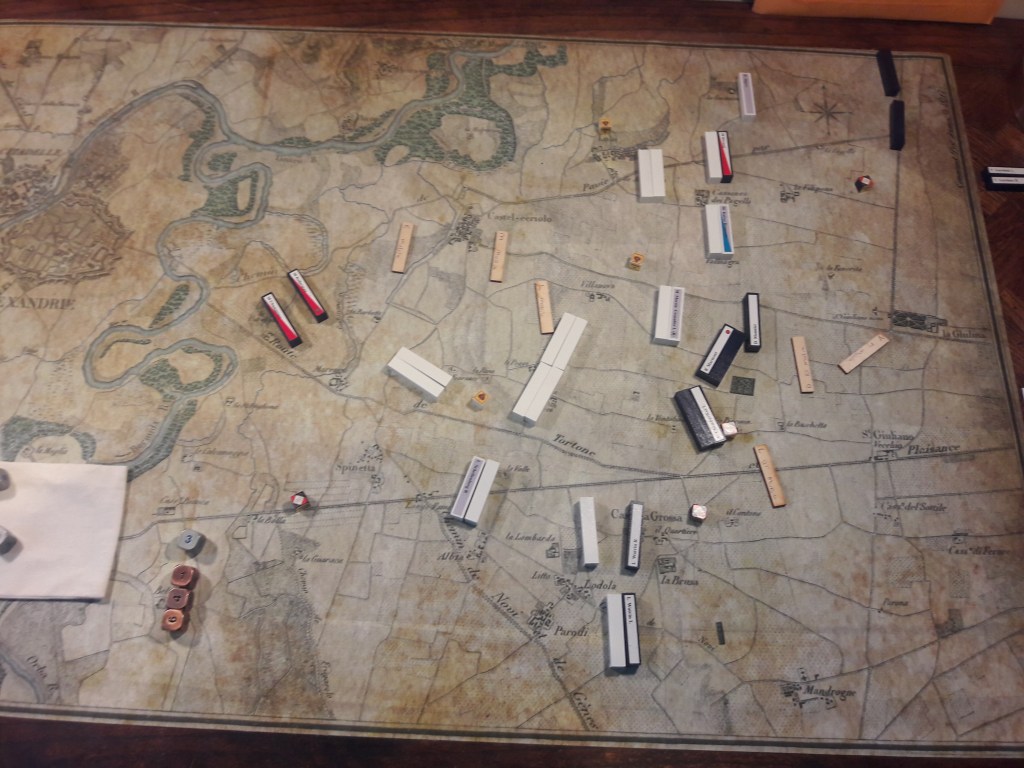
Note that here I elected to use my cavalry breakthrough rule to create a quick end to the game. Ordinarily, the retreat of the Guard would have ended the combat and given the Guard a chance to survive, pending chit draws and Alter Turn Order rolls. If I were playing against somebody, that’s the way I would have went. But it was just me, and I like the dramatic ending. When I’m playing solo, I rarely care to fight it out to the bitter end, versus a human opponent, it’s “Never Surrender!”
What do you think, do like the breakthrough rule, or do you prefer the official rules that leave the outcome to the following chit draw? I can’t really decide, I like both for different reasons.

Another great Replay post. This one was especially clear and dramatic! I think a copy of Marengo (3.0) is in my future…
LikeLike
Nice. I may have to pick up this game. I stumbled across this and the pubbattles command post games site while looking for maps for a Marengo scenario.
LikeLike
I have a two friends who bought the game after they saw the map when I brought it to MFLHS on game night.
LikeLike