After my quick two turn game last replay, I thought I’d try again. I figured when the situation for a possible cavalry breakthrough move occurred, I’d decide then if I want to change the rule or not.
In the mean time, I thought I’d try the Grouchy variant that allows Grouchy’s Corps to start arriving as if the original message had called him hence. This is turn one after movement, but before combat. Bulow’s IV Prussian Corps HQ can be seen on the extreme right. If this were any other army and a major road, the whole corps would arrive in almost one turn. Instead, it is a minor road and the Prussians must have two blocks trailing each unit to show their huge baggage trains. It will take most of the game to get them on the battlefield!
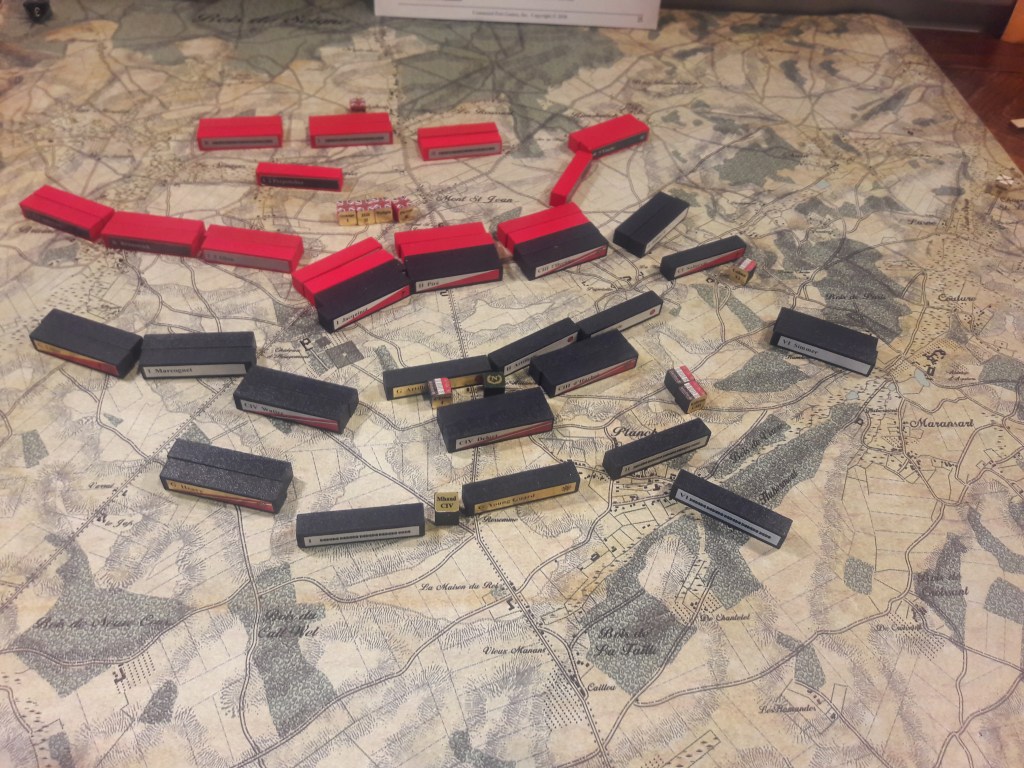
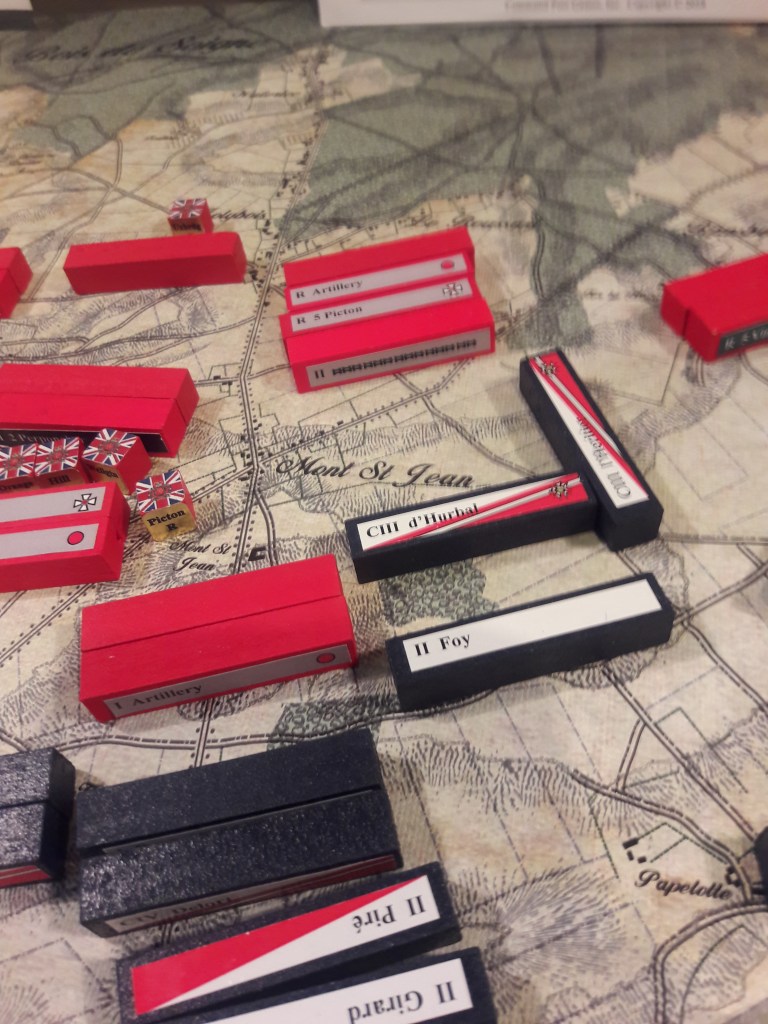
Here we see a more typical French first turn. Spent French divisions everywhere, whilst the British line remains largely intact. When the French infantry failed to reduce any opposing divisions to spent status, the cavalry road off rather than face an enemy in squares. The French lost two infantry divisions and the British had two Corps level artillery put out of action for a bit.

This illustrates the Charge! rule that allows certain units (listed by scenario, but frequently Elites and Heavy Cavalry) to move and attack immediately! This is that moment when time seems to stop (as when the Guard is committed). In this case, everything is being thrown in, trying to create a decisive moment.
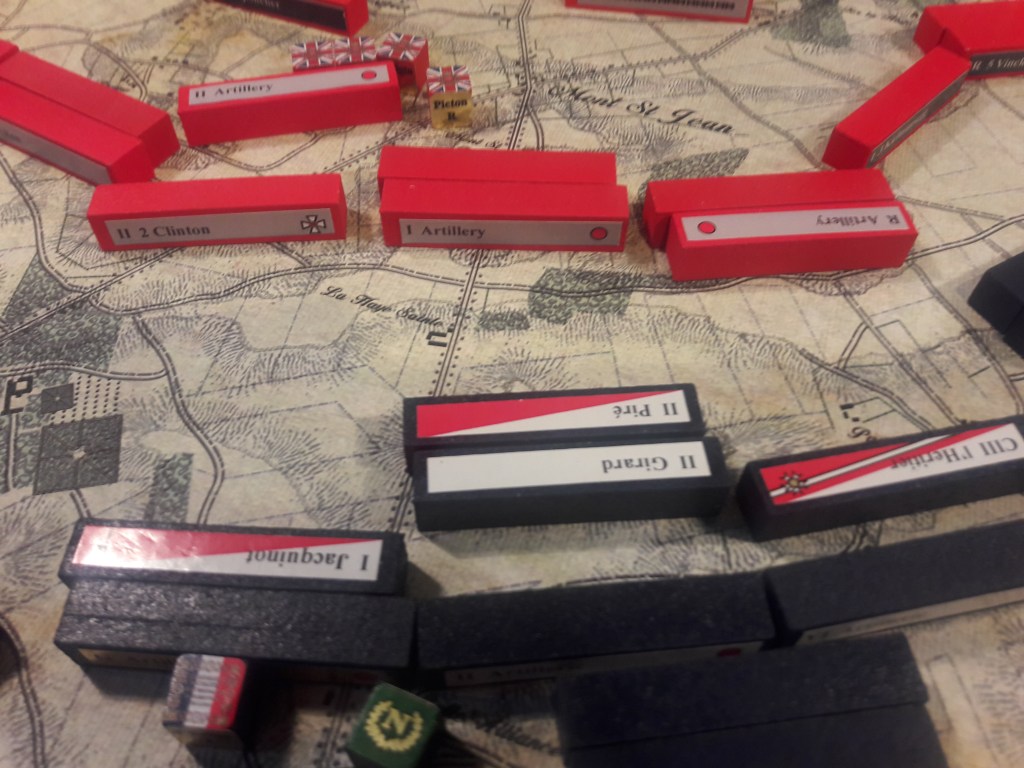
I did not try to blur out Kellerman’s division, but what a cool effect my poor photography has accomplished this time! There is a Baggage Train a few hundred yards off. Even if I had decided to use my cavalry breakthrough rules, it wouldn’t have mattered, II Corps’ chit has not been drawn yet (remember, this is a Charge!, so there’s still lots chits to draw) and they will move to safety when they get a chance.
The combat phase (above) shows the true chaos of war. Charge and counter-charge, desperate men putting in their last ounce of strength. Bulow’s column is cut up by Grouchy’s incoming Corps.
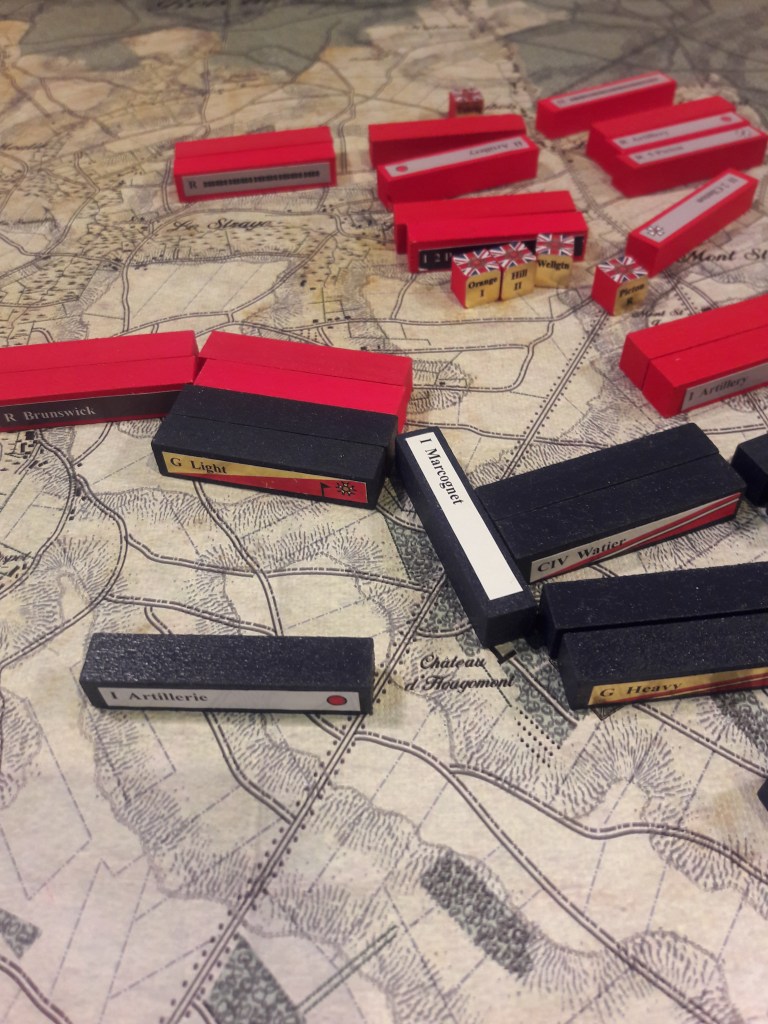
On turn 3 Wellington unpacked a Baggage Train and that has allowed him to form a coherent line on turn 4. He had to wait until the French had a chance to either stall or break through. They stalled, and his gamble paid off. During the turn, before regular combat, the answer wasn’t so obvious. Now it can clearly be seen that it was the right thing to do.
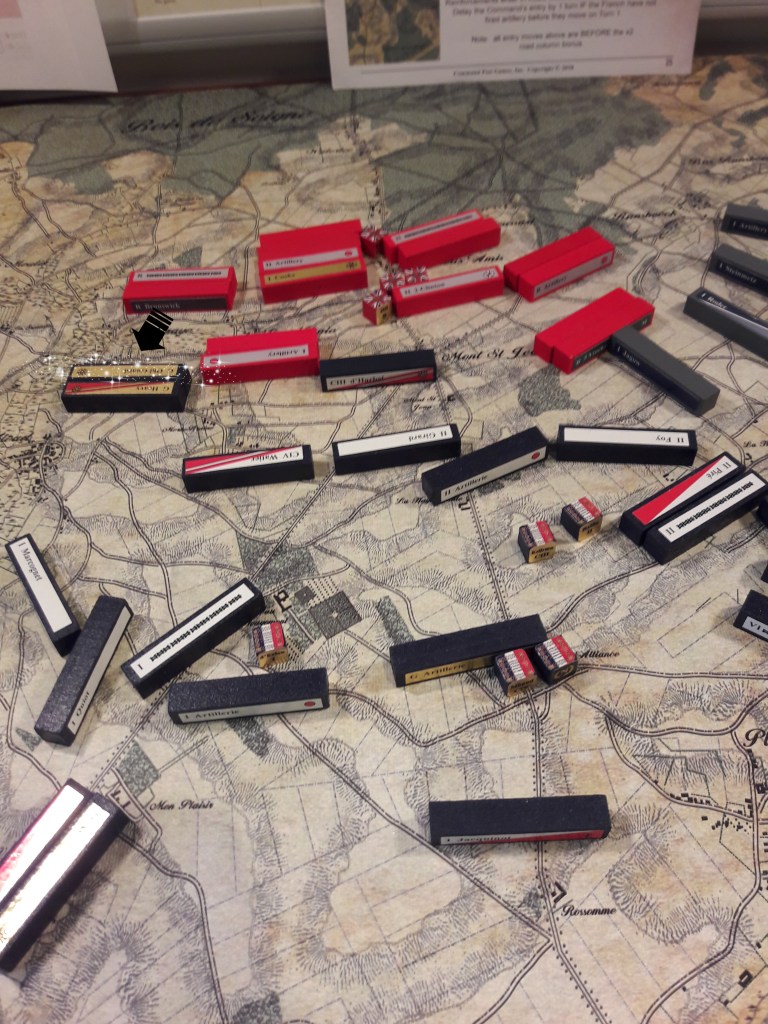
The late afternoon looks to be a lull before one final storm towards dusk. The French troops are spent and Grouchy has not made it onto the battlefield, yet.
I have my own way of resolving multiple unit combat. The official rules do it from the inside out, first contacted to last. That works, it is the official rule, and I will support and answer any questions as to how that rule works. I happen to do it the opposite way, outside in. I do this because it keeps the suspense up. Resolving from the inside out tends to make counter-charging flankers pointless since it won’t have any affect on the main battle.
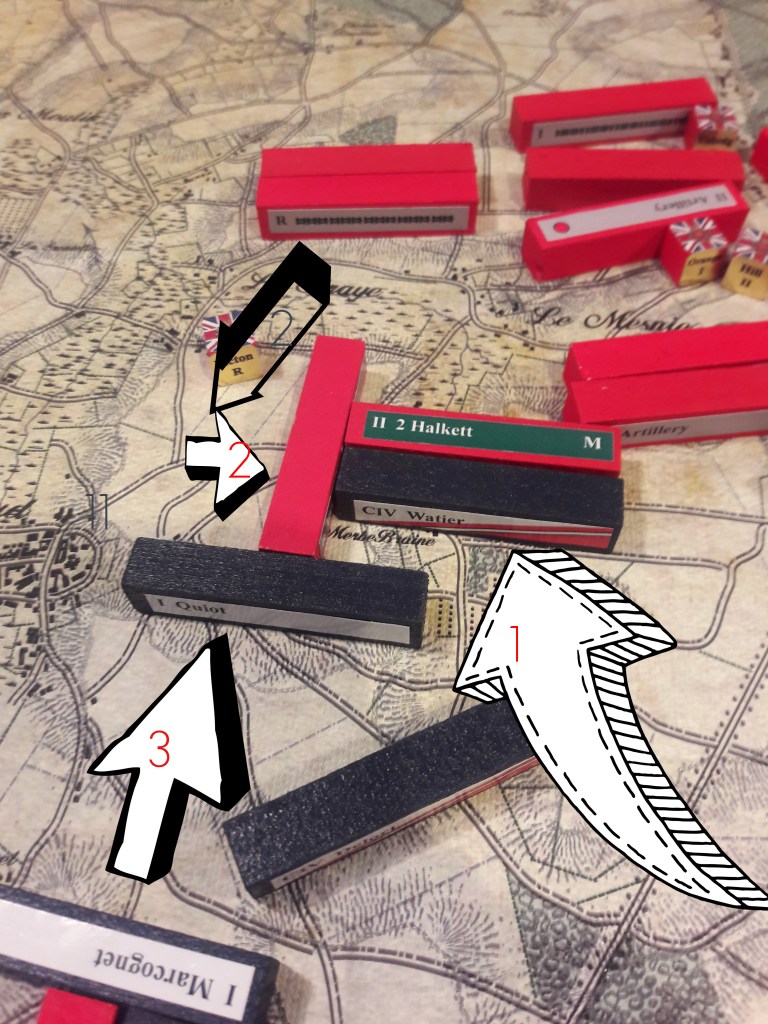
I want to take a moment to look at this combat from turn 3. A classic flank attack being itself flanked. Remember, the actual turn order does not necessarily describe the way events turn out. It is not as if Brunswick flank attacked CIV Watier as he attacked Halkett’s spent Rehnish troops, and then Quiot got the idea to flank Brunswick. That might have happened that way, but I think it is more likely that Watier had requested support and D’Erlon sent Quiot’s division who went wide and found the Brunswickers coming to the aid of the hapless Halkett. Photo effects courtesy picmonkey.
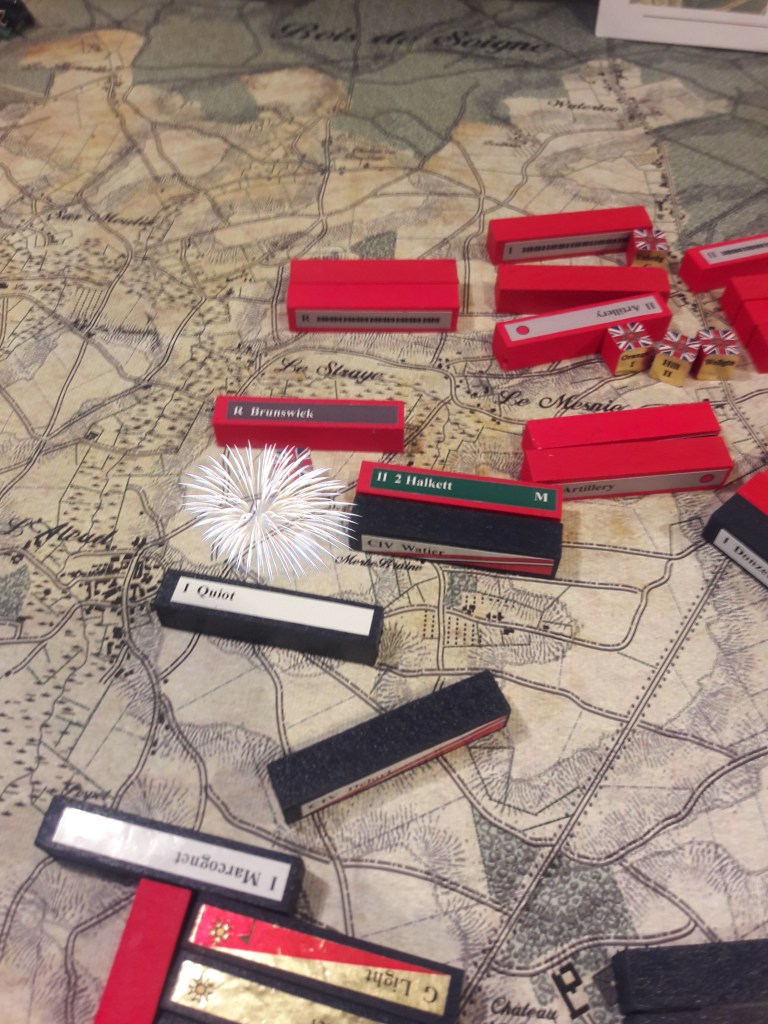

The Old Guard just can’t catch a break and the Brunswickers throw them back, then to top it off, they throw back the Curassiers as well. After that effort, still fresh, they do retire across the swamp to prevent any more cavalry attacks. They leave a lone lorn attachment to warn of any more French perfidy.

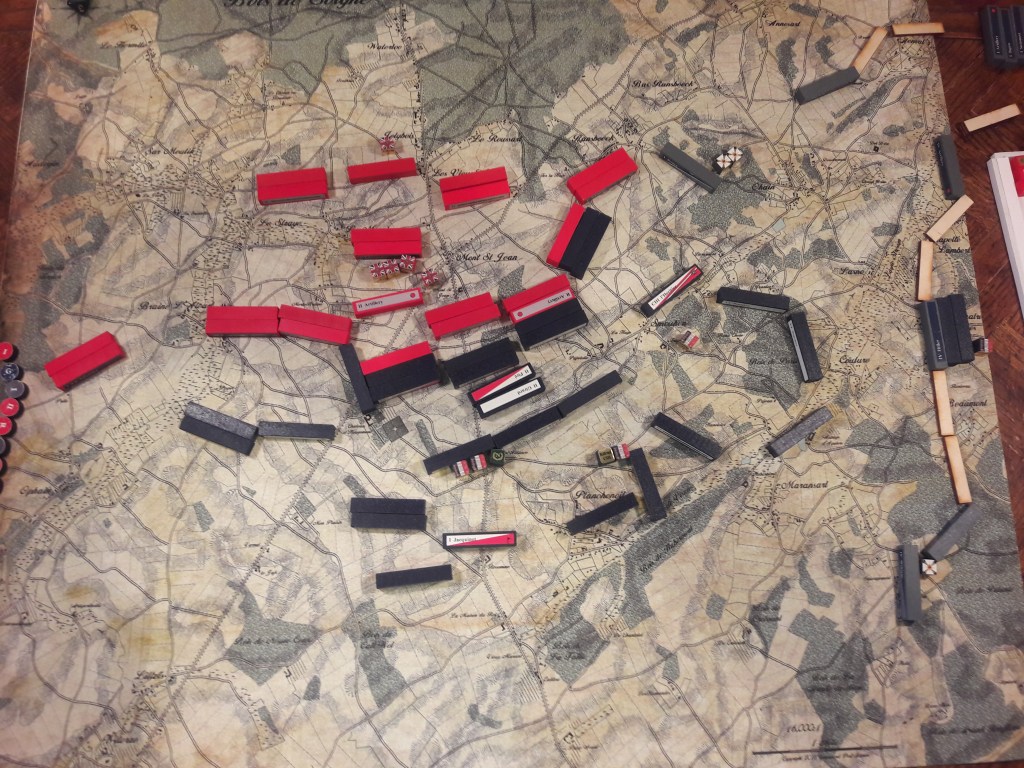
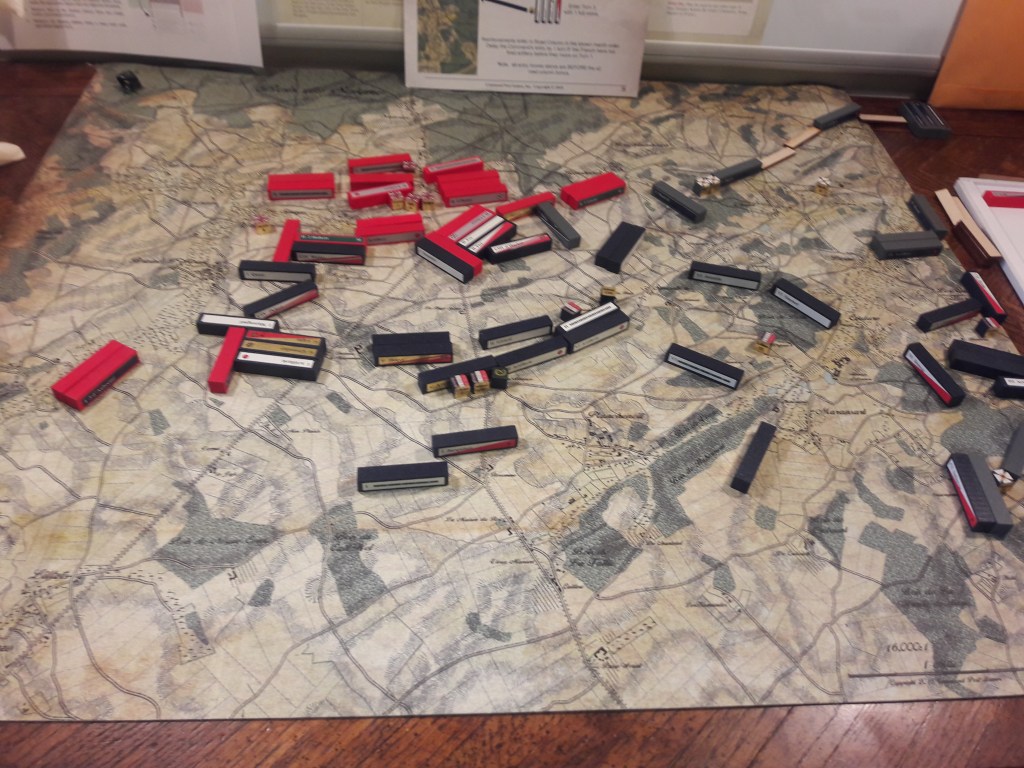
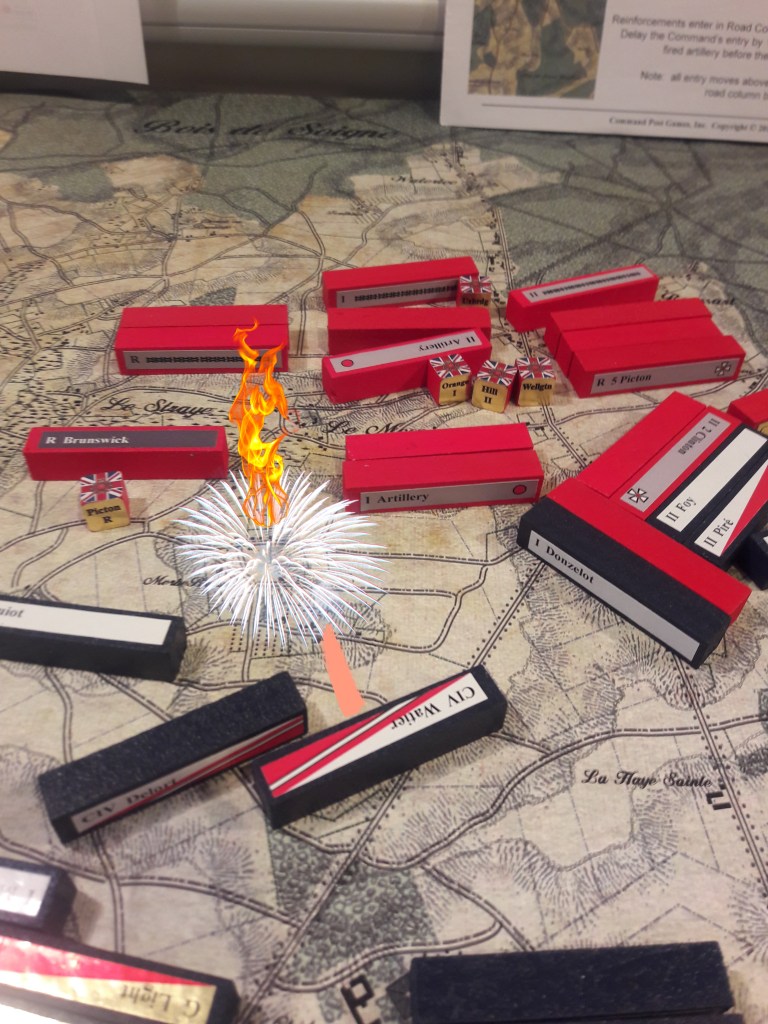
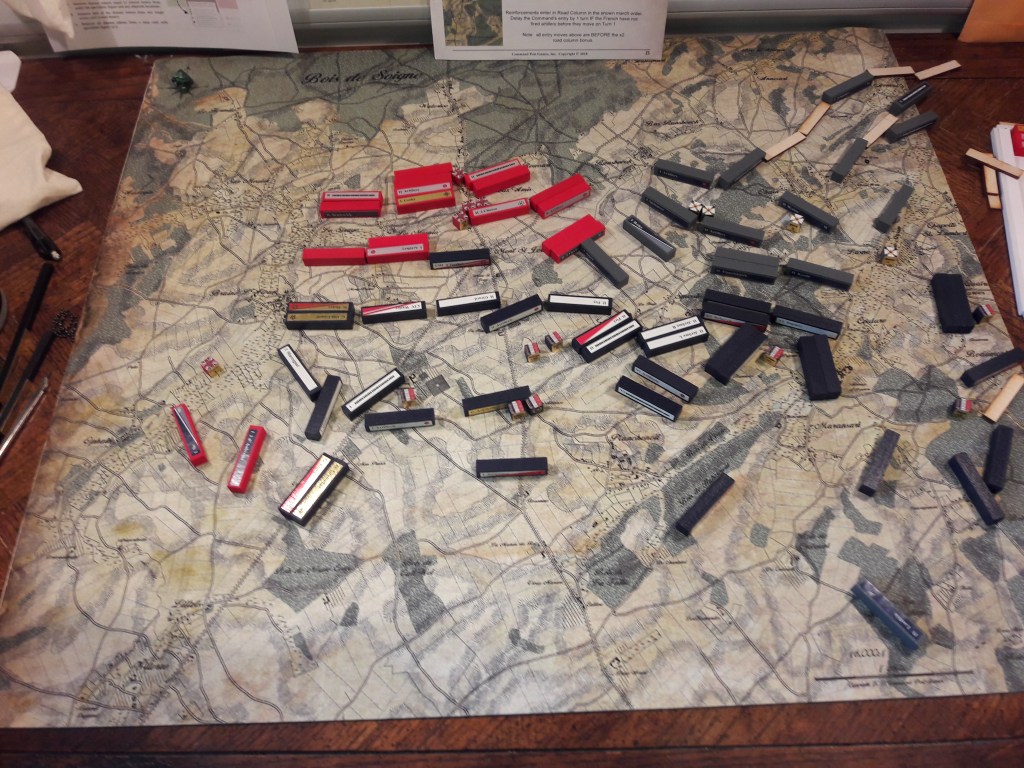
At this point with all 17 Corps present on the battlefield it becomes surprising with each chit draw to see who still hasn’t moved. One more grand French effort. If they don’t break the British line this time they will be hard pressed to accomplish anything other than “desperate” measures.
From what I can gather, the appearance of Grouchy only serves to counter-balance the Prussians, not save the day. I am beginning to come of the opinion that If the French don’t win early, they probably aren’t going to win, much like Confederates at Gettysburg.
Napoleon’s Waterloo turn 6
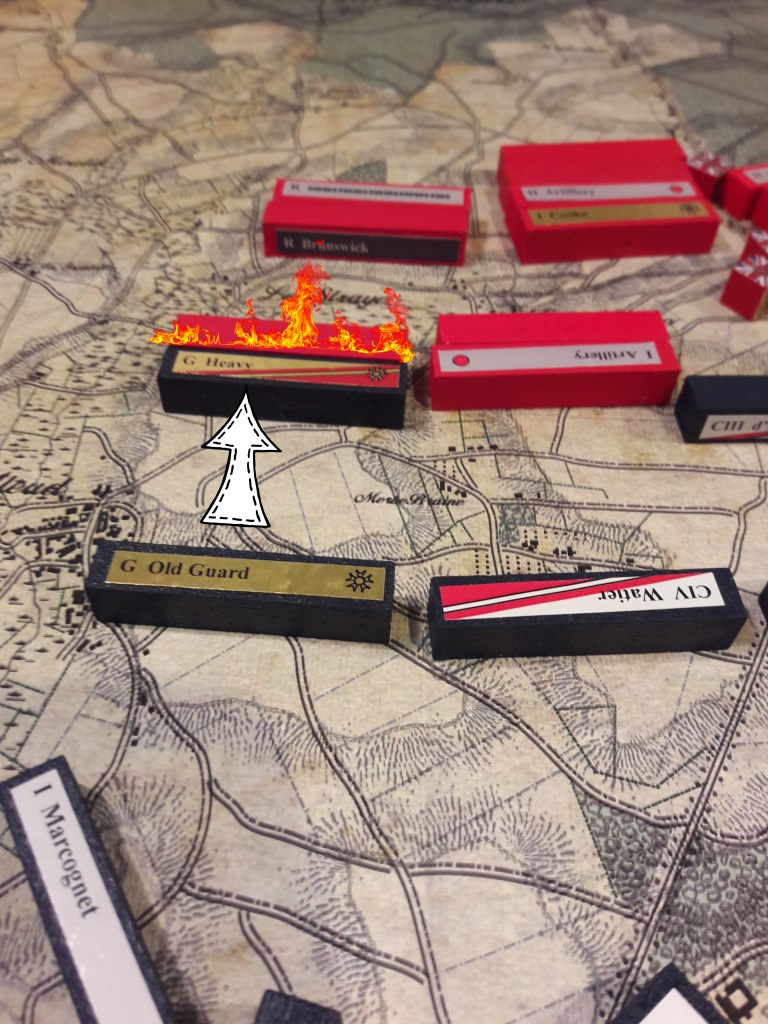
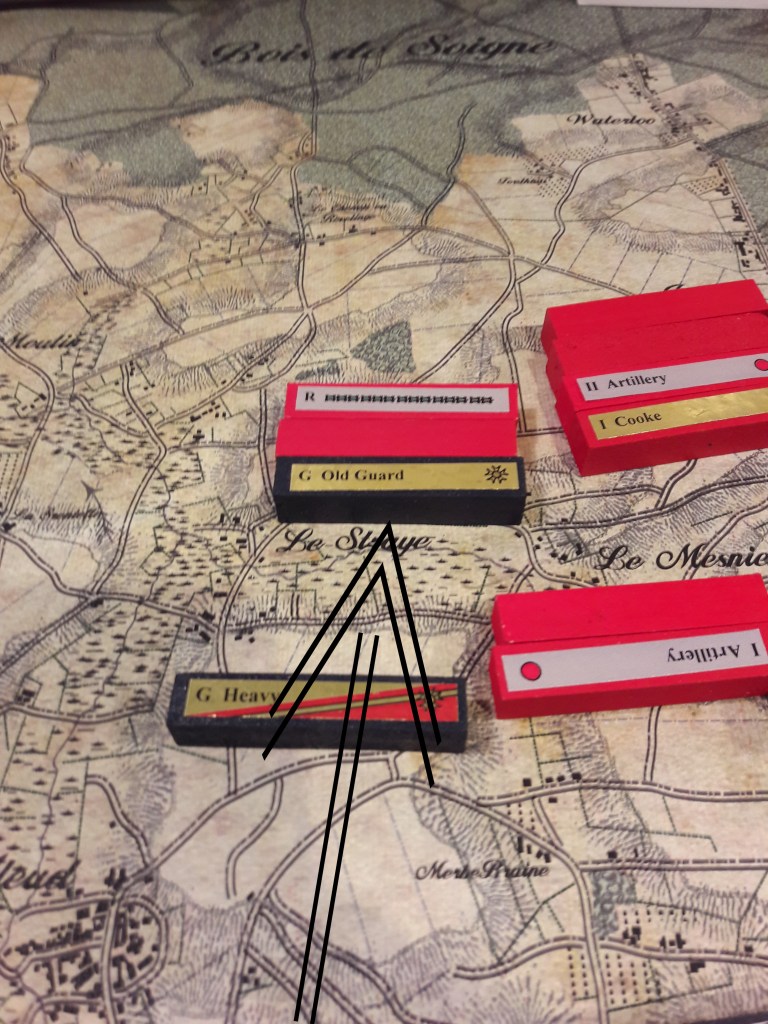
It is turn six and the Guard’s chit is drawn early and the blown Curassiers and spent Old Guard attempt the impossible one more time. The French use the Charge! rule again.
I show a stunned Guard having retreated, but in reality, they rolled three misses and the Brunswickers rolled three hits. A 1 chance out of 64 occurrence. It was not meant to be. Napoleon surrenders.
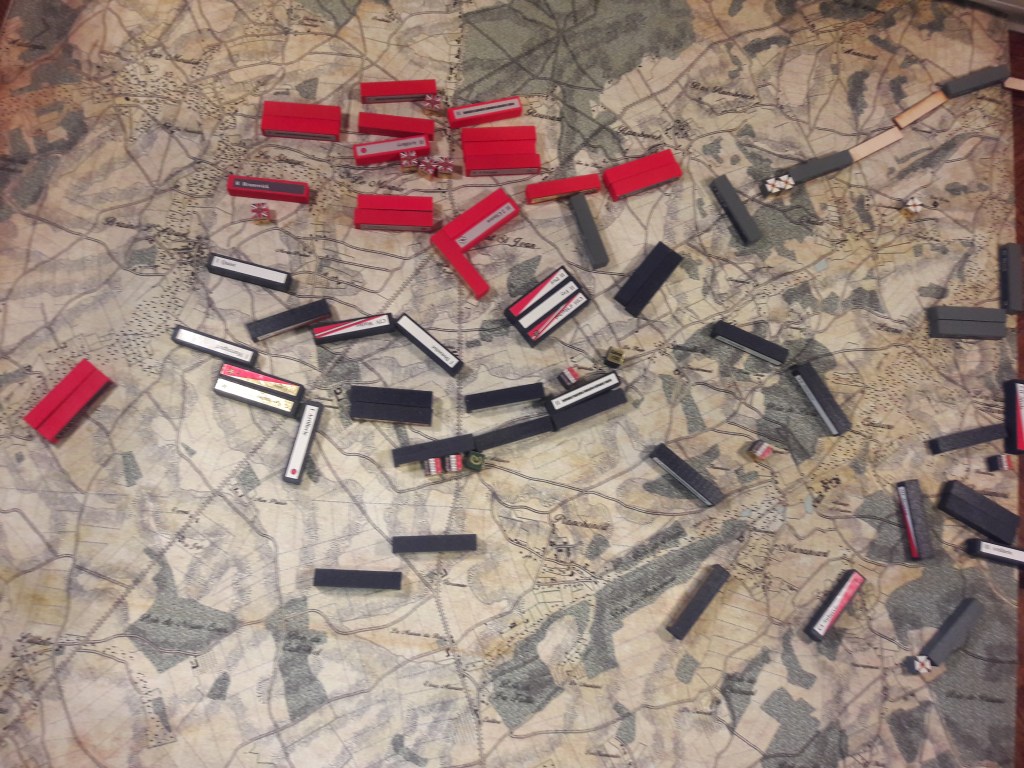
In reality, the French have nothing left to mount another attack. The oncoming Prussians don’t allow Napoleon to draw troops from anywhere else to mount another attack, and Grouchy won’t make it by night fall.
Plus, I always feel if the Old Guard is eliminated the French are done.

Wow! Such a vivid account, thank you. I love the images — very helpful to visualise what went on, both in game terms and in the fiction.
LikeLiked by 1 person
Thanks, man! It is good to know all the work is appreciated.
LikeLike
The best thing about Pub Battles is that instead of trying to tell you exactly what happened, it focuses on showing you the results of whatever happened. The system let’s you create your own narrative, which is ultimately much richer than what endless charts and pages and pages of rules could ever do.
LikeLike