The Pub Battles system played solitaire works great for playing out ‘What-if’ scenarios for two reasons. The first is that it plays so fast that you’re not investing a lot of time if your idea doesn’t pan out. Second, is that balance doesn’t have to be a concern, no one has to play the losing side for the entire game.
This time, I’m using the Stuart scenario that assumes Stuart stayed with the army doing his job, rather than gallivanting around trying to capture headlines instead of vital intelligence. This variation includes Stuart’s cavalry on day 1, instead of Day 2. Adding to this, I’ve accelerated the arrival of Ewell’s Corps by one turn, to reflect the initiative gained by improved local cavalry intelligence.
In the Stuart variant, the Union cavalry shows up on day 1 as well, or this would indeed be a complete rout.
Note that retreat distance is 1/3 foot move, no matter who is retreating.It is important to note the difference between what is explicitly shown by the game, and what is implicitly simulated.
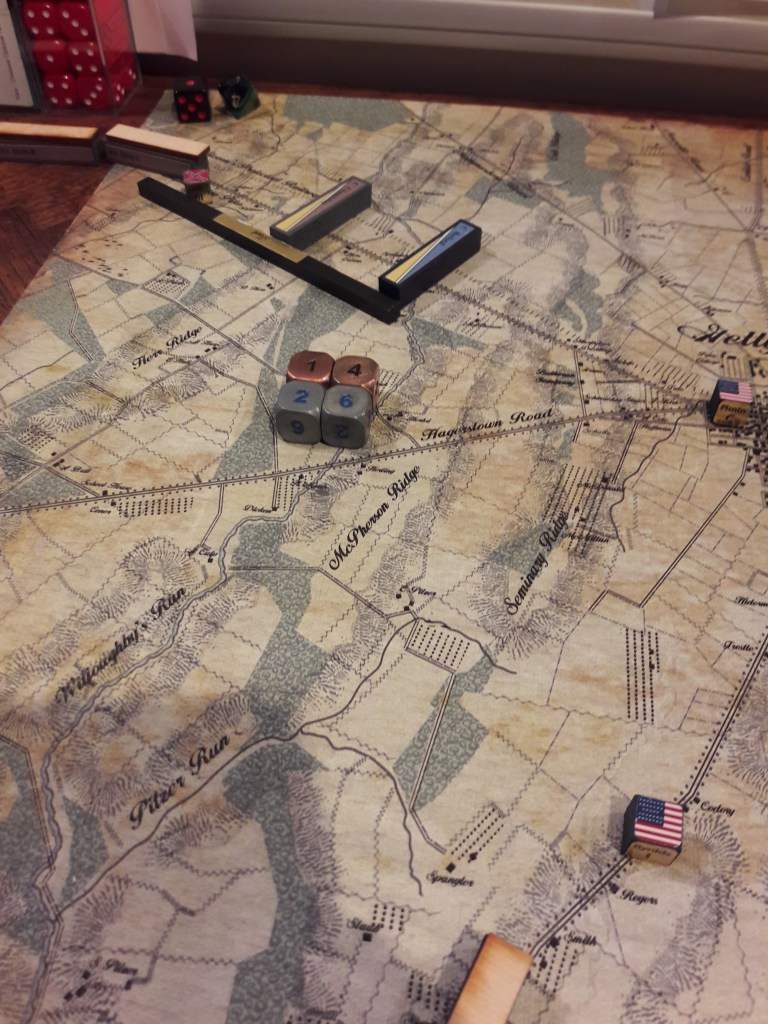
Explicitly, Buford formed for battle, Chambliss attacked, Buford retreated. There is no follow up by the attacker, Whether they can take advantage of the immediate result is determined by next turn’s chit draw, and the order is not absolutely good or bad. Implicitly, this can be thought of as a fighting retreat, or delaying action.
If Hill is drawn first, he can immediately contact Buford. When Pleasanton is drawn, Buford can either stay and fight (since he is spent, Chambliss’ two dice could eliminate him!), but he probably will move away and choose a new position from which to carry on the battle.
If Pleasonton is drawn first, he could retreat further, or he could rally (cavalry doesn’t need an unpacked Baggage Train to rally). If he rallies then Chambliss would attack him at a disadvantage since he would still be spent. Chambliss could rally and let Heth advance to contact. If this were to happen, then Buford would have the option retreating before combat (fresh cav attacked by foot).
All that is explicit. Implicitly, there is a lot going on, even if no actual dice are being rolled. When a unit moves away from an attacking unit it is not as if they waited for the attacker to arrive and then simply marched off. What it shows is that the attacker was not able to bring the situation to a decisive resolution. This can be an example of a skillful delaying action, or maybe there was some of many innumerable reasons the attacker did not get there in time (indecision, faulty intelligence, unclear orders, broken axle, et cetera). This is why I say the chit draw is elegant. Rather than try to simulate exactly why the intended attack was not successful, it merely shows that it wasn’t.
Also, recall that the chit draw simulates simultaneous movement. The different chit drawn orders don’t reflect “first this, then this” linear time, but different plays of initiative and the enemy ‘showing their hand’ first. It also shows the benefit of the corps and divisional level officers out thinking/out fighting their immediate adversaries.
This is also where the game removes you, as General, from puppeteering your command structures. You just can’t be everywhere at once!
Onward to turn 2!
With this variant I am accelerating the arrival of the Confederates by a turn. In a meeting engagement where everyone is trying to be firstest with the mostest, this should set the Union up for failure. This is the benefit of solo play, I can try things like this and no one gets stuck playing the losing side for the whole game.
I have advanced the Union Cavalry’s arrival by a turn as well, because I have no doubt what an extra turn beyond the turn they are already getting would allow a little too much mayhem…Maybe save that for a later day.
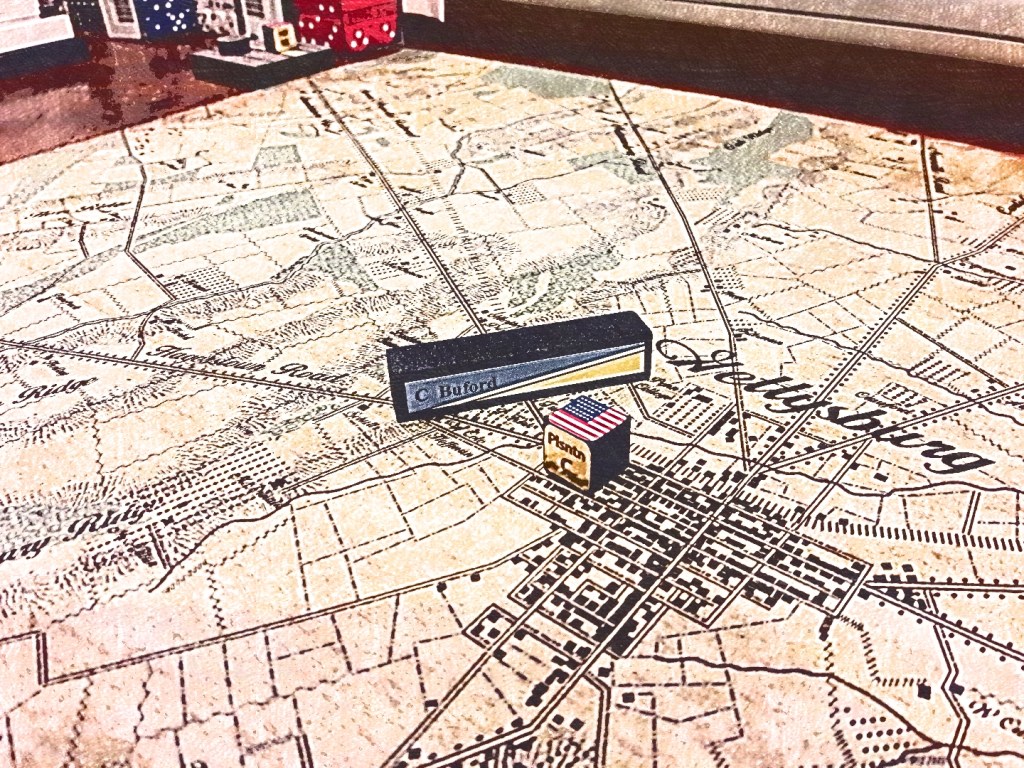
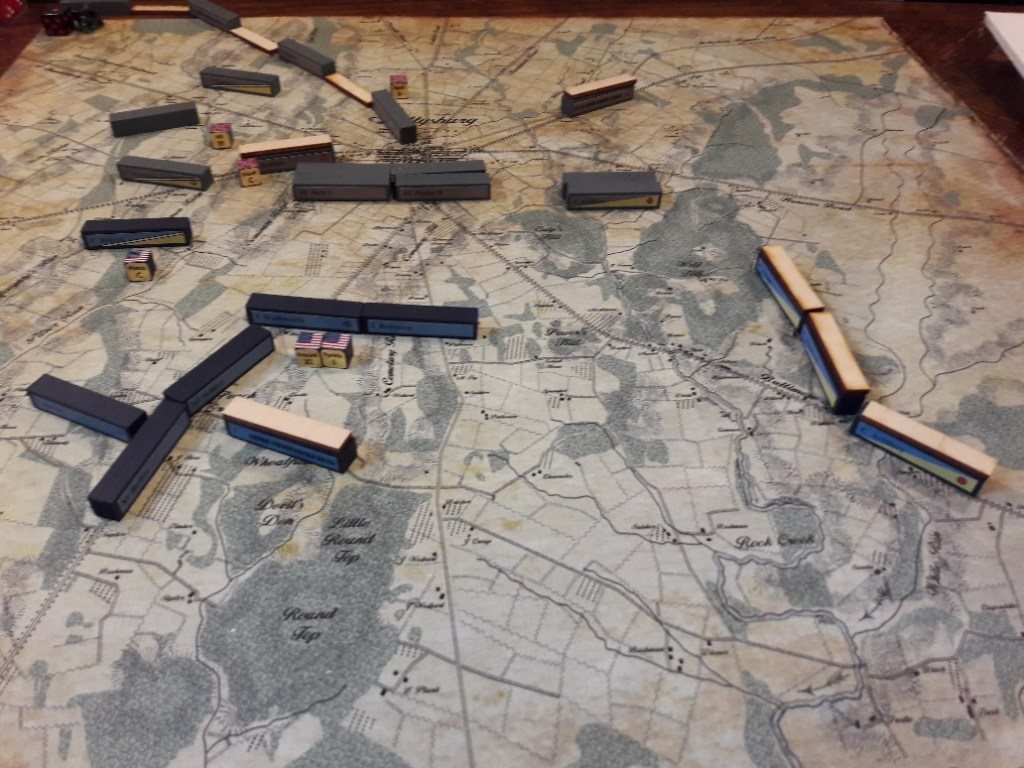
Stuart arrives and secures Gettysburg ahead of Hill’s column who march the whole turn to get everyone on the map. Overall, this is a good problem to have, but it limits one’s options to simply marching along the road. There are several minor roads along the way, but they would stretch the line out even longer, and there’s a whole army behind ’em!
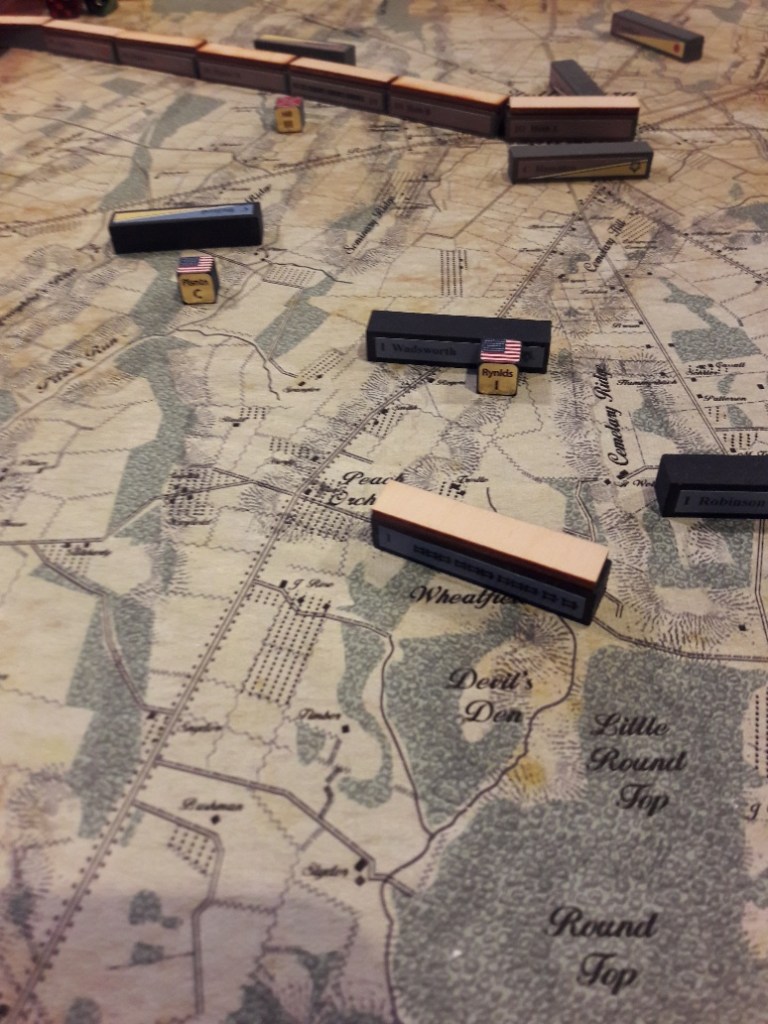
Buford races back towards the Union lines as Reynolds deploys his two divisions along the Peach Orchard and Cemetary Ridge. Cemetary Hill is no longer in reach. This will be a very different battle! One thing that does favor the Union is that as they fall back they get closer to their arriving troops, whereas Lee must spend more time marching to the front lines. Things will be worse for the late arriving Hood.
Day 1 will be very interesting.
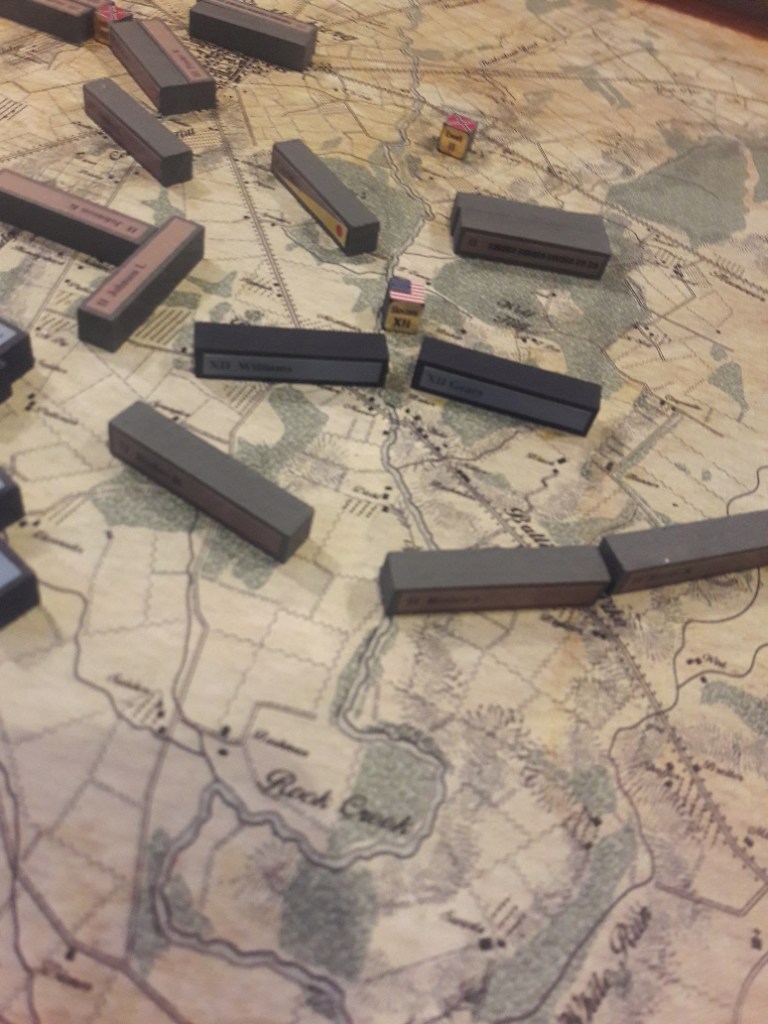
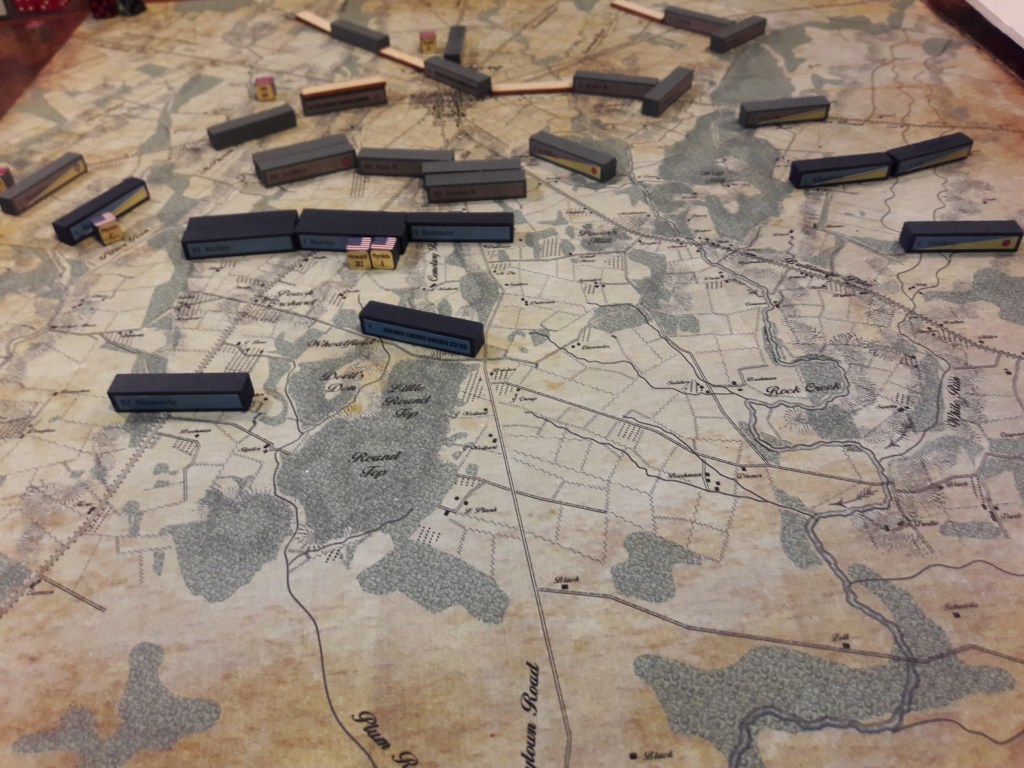
On turn 3 I make an interesting observation. I always wondered why battles were so set piece. Why one army set up and waited while another army did the same, as if they had seen the “set up diagram” and just filled it in. Now, I see the actual process begin. Two opposing armies move towards each other, then deploy into lines, then attack.
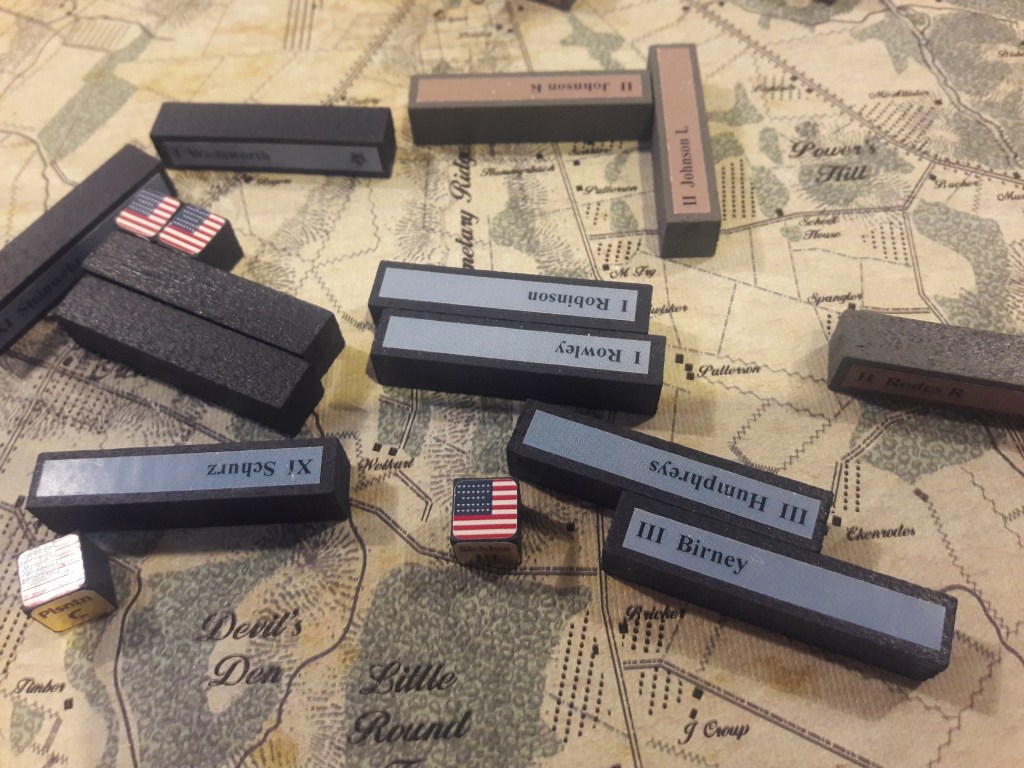
You can also see quite clearly in this photo the march column eighth inch blocks I use to show units in March column on major roads (block on top) and those on minor roads that are forced to be more stretched out (block behind). Rodes’ Division and Baggage Train of Ewell’s corps (coming in from the top) is stretched out over 3 miles! Meanwhile, the first two divisions of A.P. Hill’s III Corps have deployed in attack formation just South of Gettysburg.
Both opposing cavalry commanders are located on the Union left allowing their respective divisions to attack if necessary (thus remaining a threat), while to the East they are taking up more defensive positions.
Reynolds and Howard are planning their defensive strategies and sending off more messengers to Meade, pleading for him to come on at all hazard with greatest expedition.
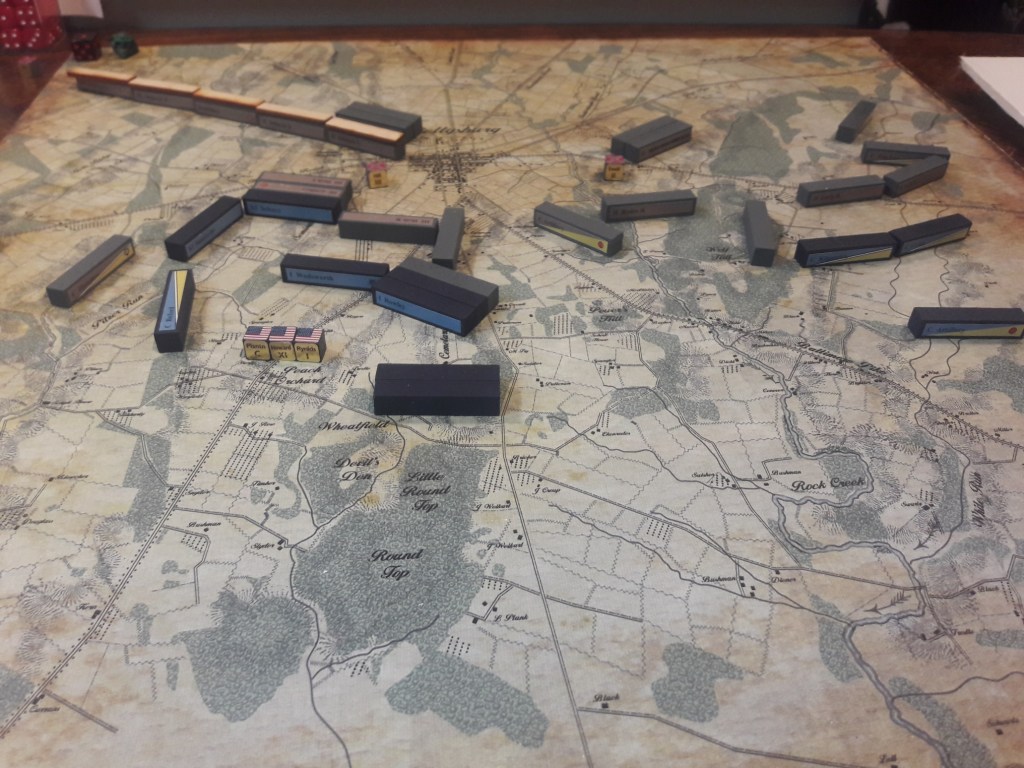
Turn 4. Meade’s First and Eleventh Corps have set up a makeshift line, but it seems not nearly wide enough! Ewell forms up on the western flank and Hill on the eastern.
Turn 5 In the first heavy combat of Gettysburg Reynolds and Howard have launched an attack in an effort to stun the Confederates fist thing and unbalance them. Starting from the left, Buford’s cavalry charge Hampton’s crack division in an effort to prevent them from freely harassing the attack that is being delivered just below McPherson’s Ridge.
Rule comment: As per the diagram on page 6 of the 3.0 rules (flanking), the blocks must line up as close as possible, but are not required to touch. In the photo, all units are considered to line up evenly, even if the actual shape of the blocks don’t allow it. Their real counterpart divisions would have had much more elastic frontages than the wood blocks allow. The determining factor is whether or not at least half the base width is in contact. It would take several pages of examples to show all possible permutations of this rule. Pub Battles merely asks two gentleman if they could agree on what would likely happen.
Note that Lee’s player drew his commands first, which allowed the Union the rare chance to attack without fear of a Confederate maneuver to prevent it. This simulates a well executed attack where everything goes right…At least until combat begins.

In a good example of Confederate elan, A.P. Hill’s troops score three hits on their union attackers whilst the Union only scores two hits. The rebs were flanked, so they needed 5+ to hit, and the Union only needed 3+. Barlow (Union) was eliminated, and Heth’s boys fell back (they should both be spent, I realized after I took the photo). The rules require the first hits to be taken on the front unit, so it would have been required to flip to spent and retreat. Then the unit backing up could have advanced forward and fought another round. However, I did not think fighting another round with being outflanked would bode well, so they both pulled back. The Union unit backing up the eliminated unit advanced to fill the vacated position (this is the only “after combat” movement allowed. Heth’s boys on the right suffered two hits as well and fell back.
Buford’s troops delivered one hit on Hampton, which their elite status allowed them to ignore, whilst they delivered one hit on Buford. Buford’s mission accomplished (denying Hampton), he fell back, electing not to continue the fight on unequal terms.

Turn 6 Here is where the rest of II and III corps arrive. The Union army is pushing up along seminary ridge almost to the day’s starting line. Additionally, it looks as if Reynolds’ Corps will recapture Cemetery Hill.
All of which is accurate, but misleading. Since Pleasanton is over with Buford, facing Hampton and Stuart on the Western flank, the entire cavalry force of both armies on the Eastern portion of the map are without Corps leadership and cannot attack. Furthermore, Wolf’s Hill has been invested by Ewell’s II Corps, and the Union has nothing to fill that gaping hole in their center. Over the next two turns (the rest of the day) the North will get almost no reinforcements, but Lee will be joined by Longstreet’s large Corps, minus Pickett who will arrive fresh in the morning.
The battle could look very different in a couple of hours…
Turn 7. Well, Now we have jumped ahead to turn 8. I have been working on this for awhile and have gotten quite tired. I have forgotten to snap a picture of turn 7 when Lee’s I Corps arrived. The thing to not is that the last division of Hill’s Corp had to leave the road to allow them to pass.
Turn 8 movement ends with Lee finally gaining some initiative. Longstreet swings wide to the left and Hill makes an attack in the center as Ewell is poised to take his deep into the Union right where the Union cavalry delays their southern counterparts on the right. I am once again tired and making mistakes. Pleasanton is over with Buford leaving the rest of his Corps out of command. That cavalry could not have attacked.
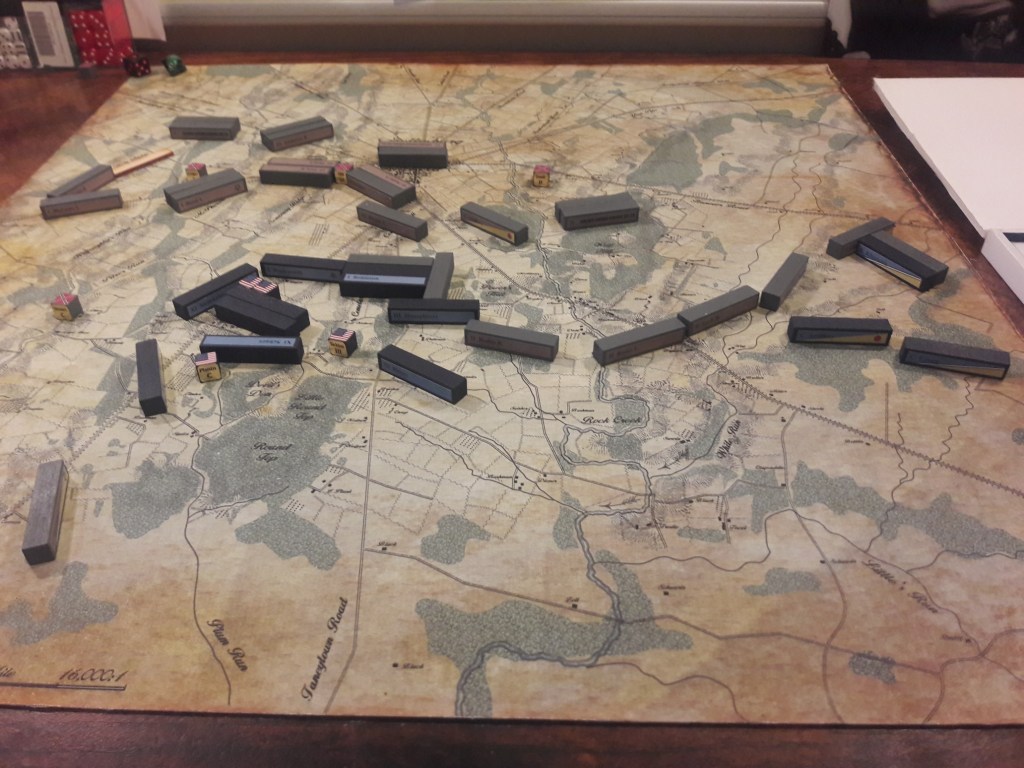
Turn 8 after combat. Suddenly, the Union position seems weak with most of I Corps and all of III corps spent. Next is a night turn, with movement, but no combat.
Whoops! Except I realized I had forgotten to bring on Slocum’s XII Corps, and this would have changed things dramatically, With Hancock’s II Corps and all the Union Artillery arriving in the night.
So I decided to call an end to my experiment, for now. I see that it is possible, with the right circumstances, for the Union to hold out.
But what if Jackson had survived the last engagement, and what if Stuart’s cavalry had remained in place… That’ll be my next game.